
(NOTE: I tend to use Images to Illustrate my tutorials, to this may be Pretty Image heavy for anyone still using dial up)
To summerise there's two ways of adding a Watermark:
- using Basic Text
- Using a Fancy Image
Using an Image as a Watermark
First off - here's what you're gonna need to get this done: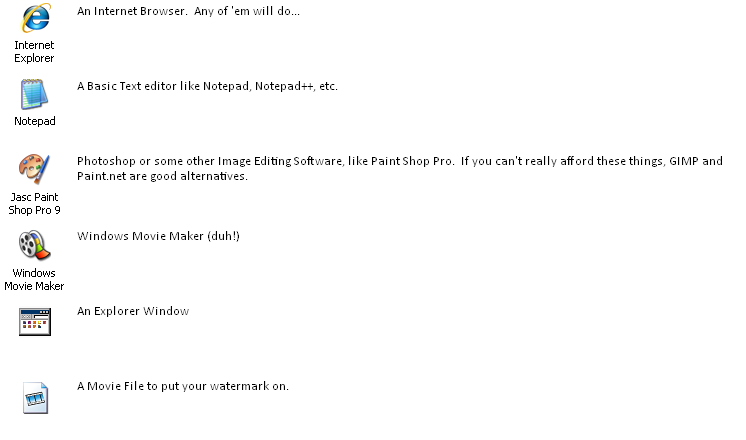
Now here's what to do:
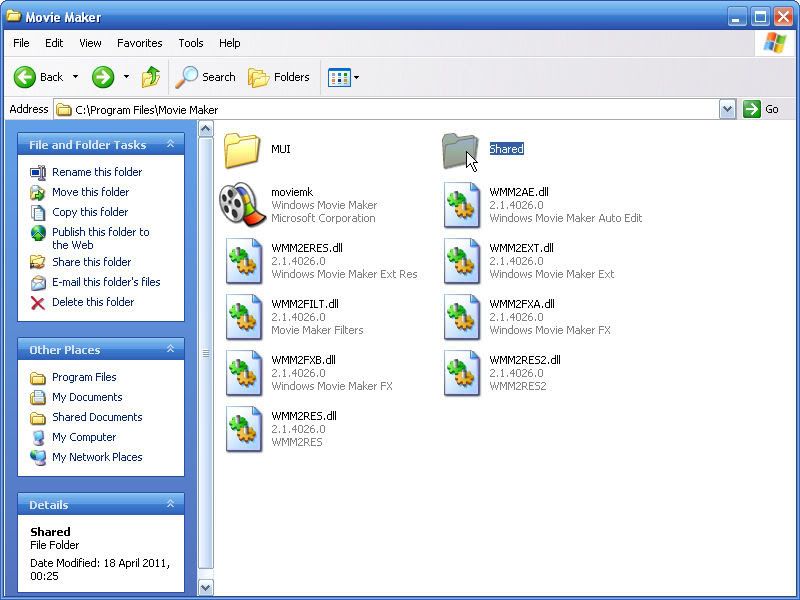
Go browsing in your Movie Maker Folder (default is C:\Program Files\Movie Maker) and ensure there's a folder in there called Shared - If not, Create it.

In the shared Folder, Ensure there's a folder in there called AddOnTFX. Again, if it's not there - create it.

Now you'll want to create your watermark. Do this in your favourite Image Editing software. Here's one I did Earlier with Transparency. If you are using transparency anywhere in your image, only .GIF and .PNG formats will read it as transparency - everything else will read it as a solid colour (usually white or black) so be sure you save it in the right format. Also be sure to remember how big the image is - you'll need it later. Save the Image in the Shared and AddOnTFX folders.

Now in your Internet Browser head over to theFXArchive.com and click on XML Generators, and you should end up with the above image. Here you'll want to Click on the Logo Locator that fits your Operating System.

This should pop up. Edit everything as necessary. For movie size, set it to as close as possible to the movie size of the video you're going to watermark. and image size should be the same as the image you made earlier.
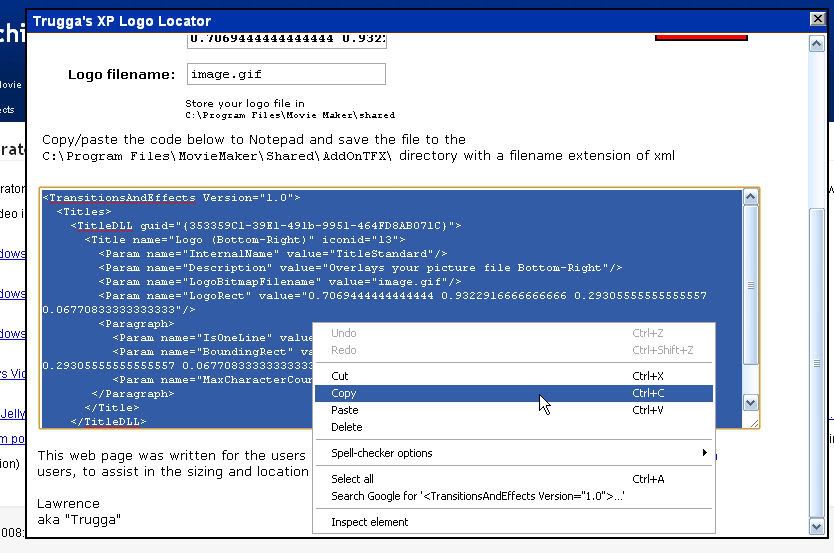
Once done, copy everything in the text box below into Notepad. I would recommend editing the following piece of code into something that you can remember (i.e. GameAnyone Watermark) as this will appear in Windows Movie Maker as the description.
<Param name="Description" value="Overlays your picture file Bottom-Right"/>
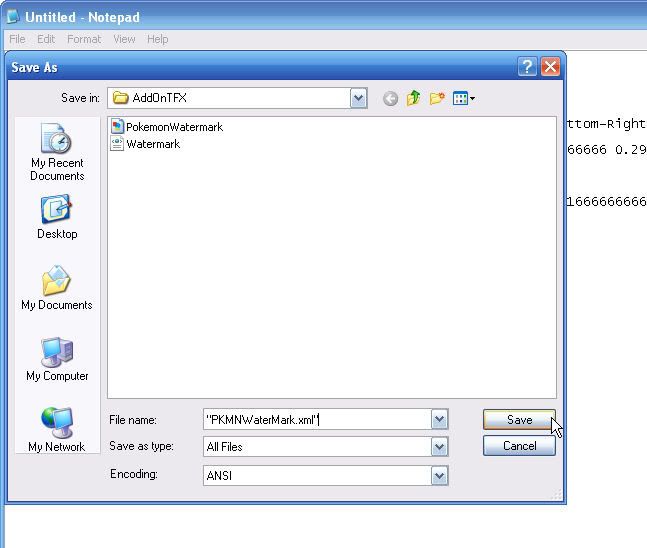
You'll want to save the file in the AddOnTFX folder you created earlier with an XML extension. It's recommended you sat file type to "All Files" and you put the full file name in quotation marks (example: "watermark.xml")

Run Windows Movie Maker and prepare/Edit/Etc. your movie as usual.
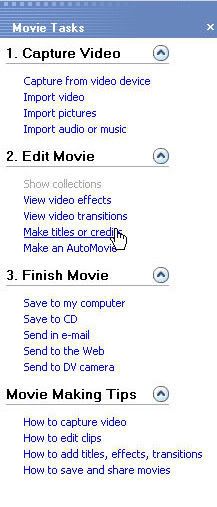
Now Bring up your Tasks side bar and click on Make titles and credits

In the Menu that appears click Add title on the selected clip in the timeline.

This step is important: in the text space provided (if there's two text spaces, just the top one) Type in ONE SPACE. If you don't do this, Movie Maker will Crash. Now click on Change the title animation
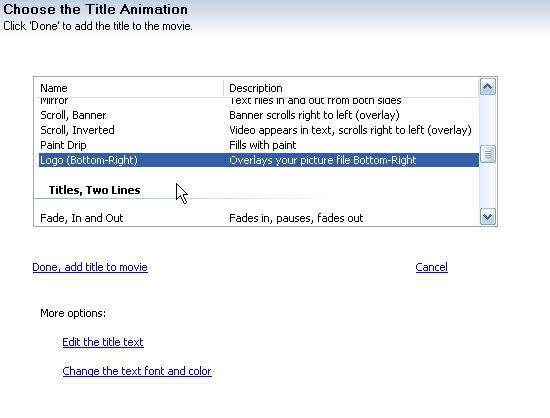
Here select your Watermark and click Done, add title to movie
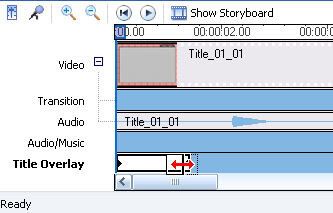
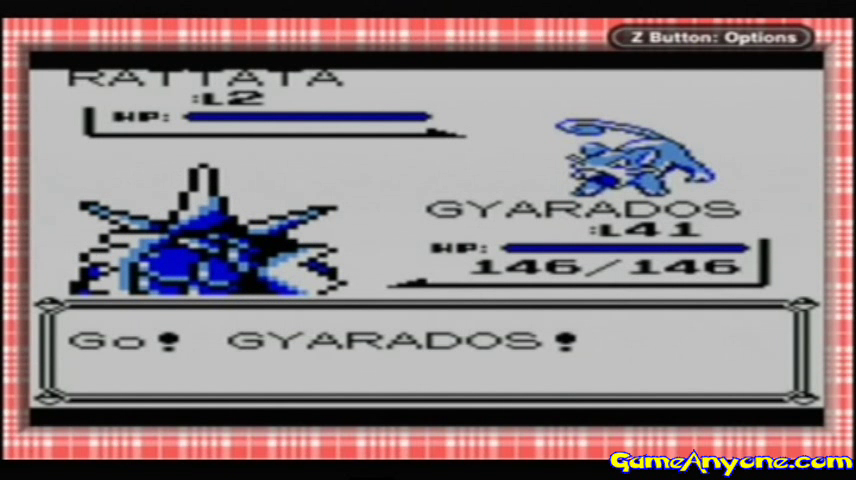
Adjust your Watermark so it appears in your movie as needed, then save your movie. And the Final result, should be something like this:
Once I've got some sleep, I'll probably post the tutorial on how to do a watermark using Basic Text Functions.
You can create your own watermark to your image in a matter of minutes by using your mouse.
ReplyDeleteSTC Technologies|STC Technologies